
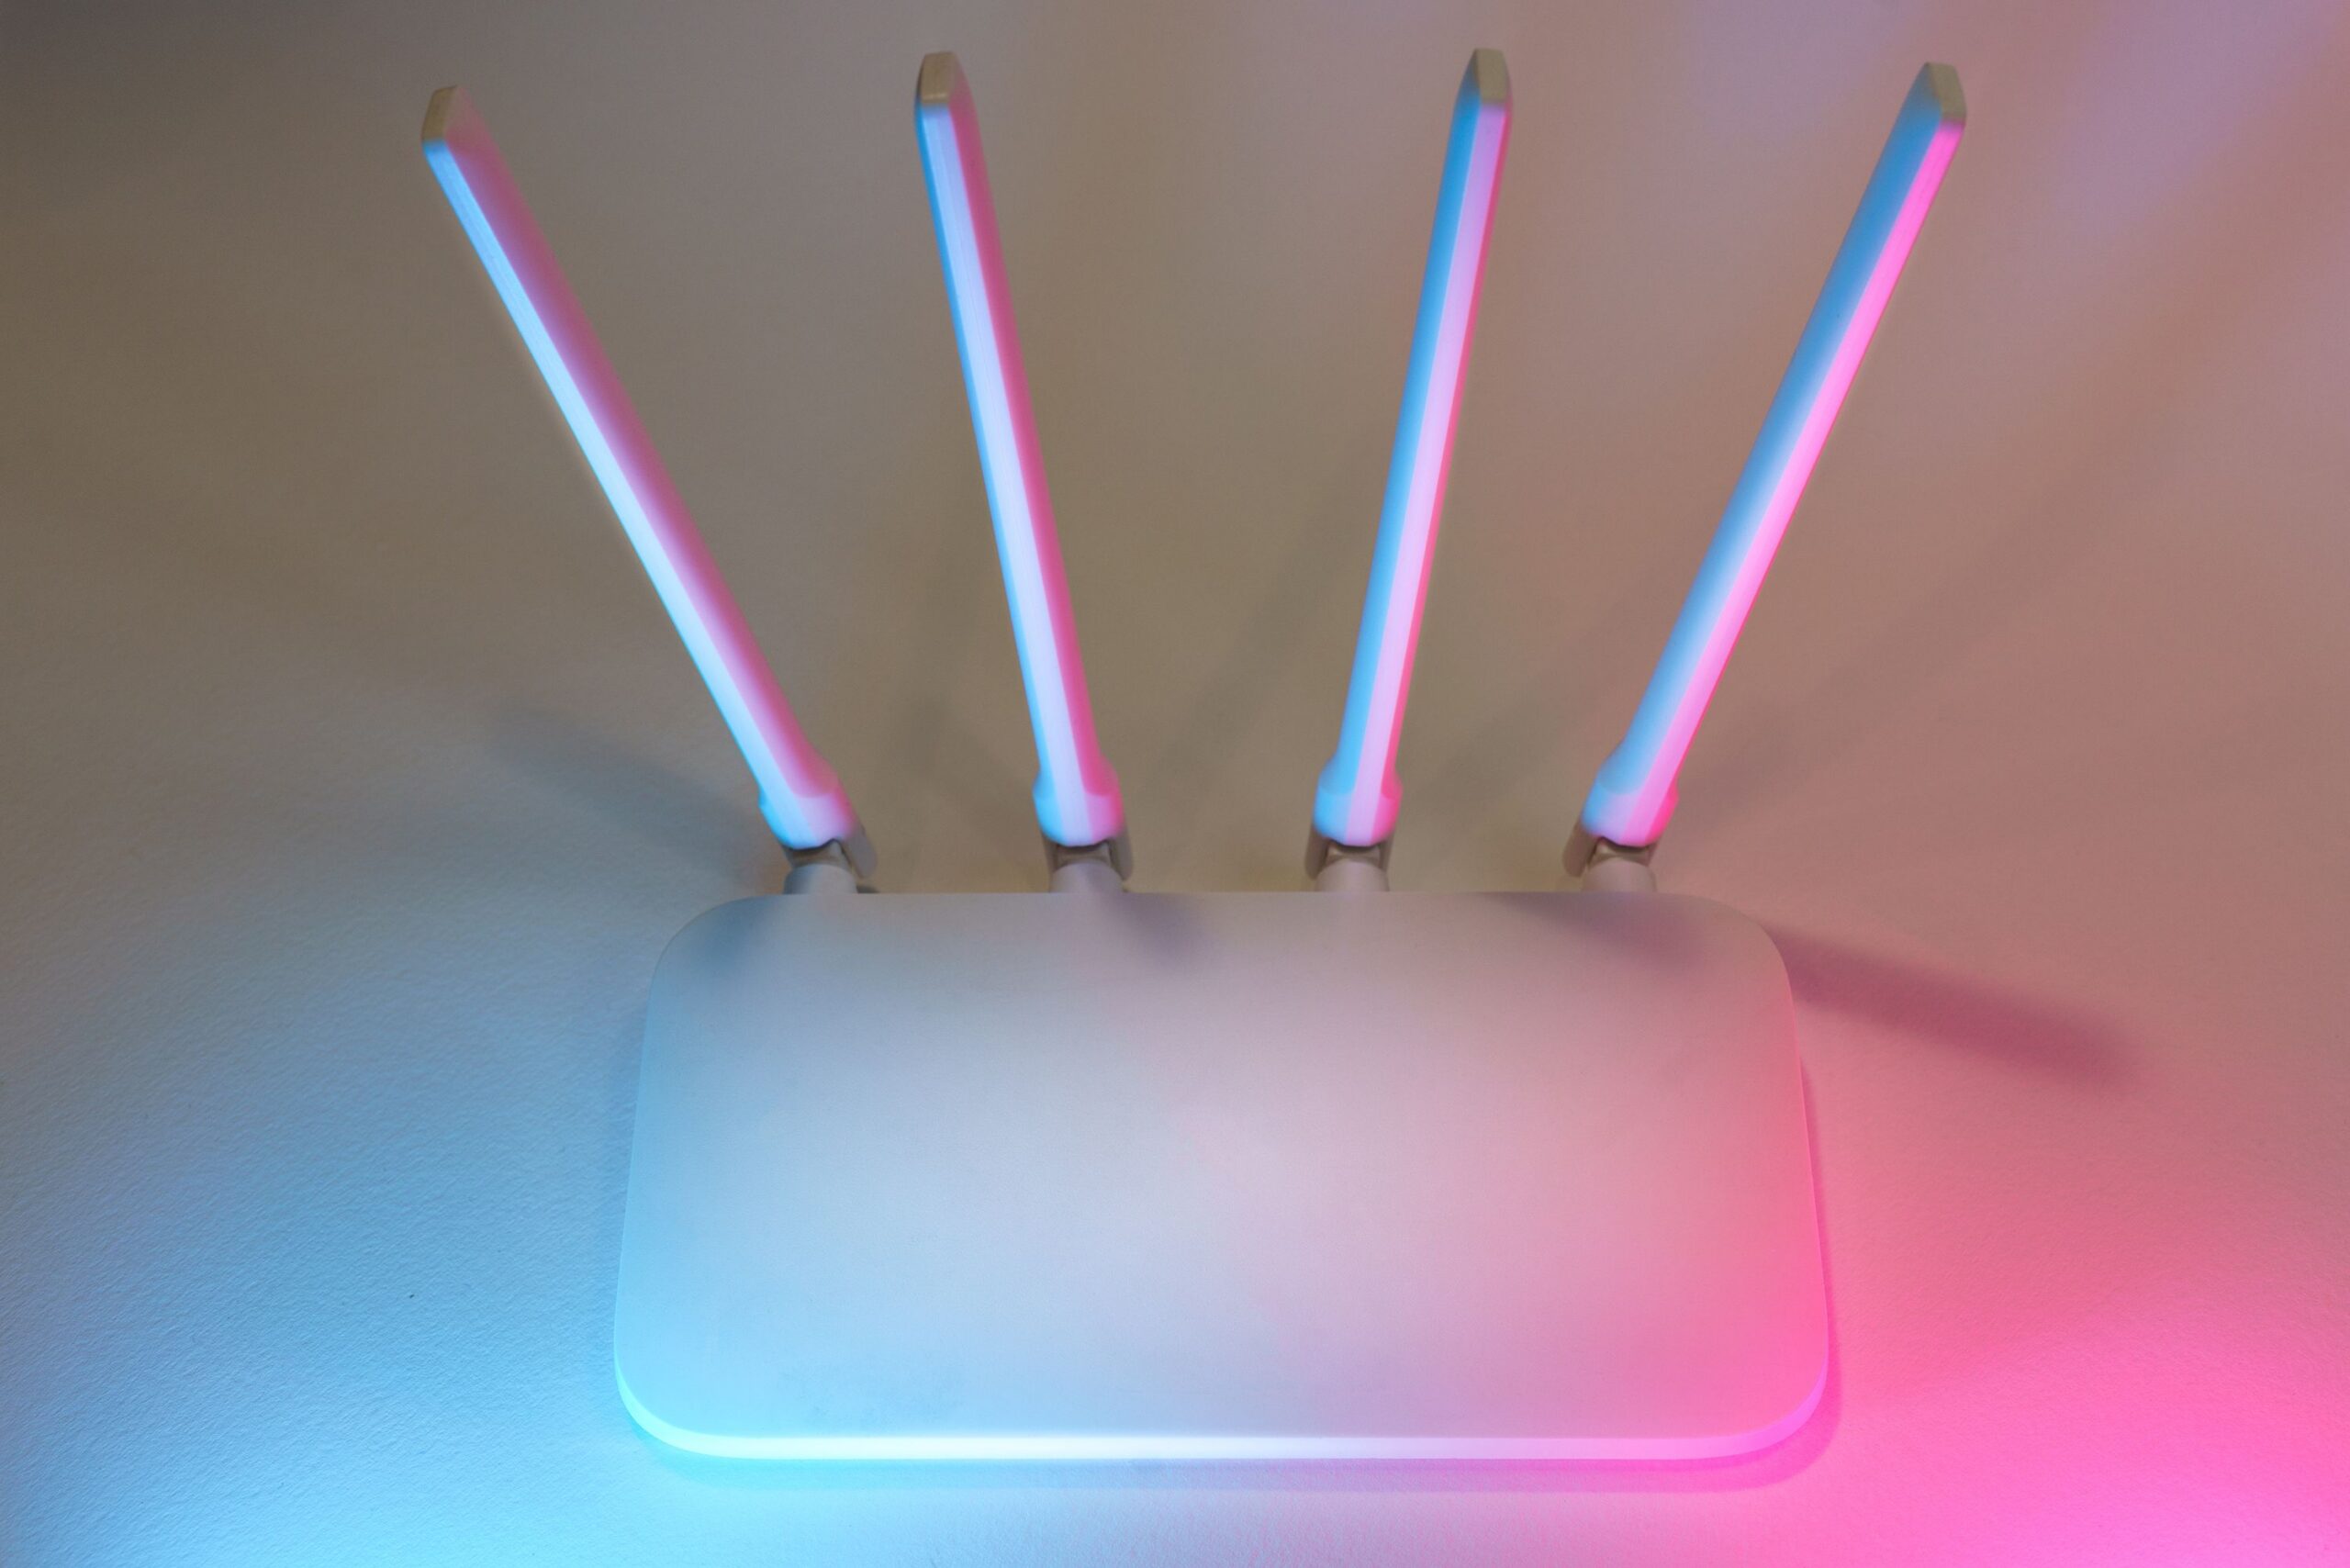
A visitor arrives, asks for the internet password, and you give them the same one you use for your laptop, printer or home storage. It works, but you are revealing your main password and, depending on your network settings, may also be exposing devices the visitor does not need to access. That is why many routers offer a separate guest network, which you can create without buying any additional equipment.
You can set up guest Wi-Fi in the router’s administration interface or mobile app by enabling the Guest Network feature, creating a separate name and password, and restricting access to the local network. The key is to check options such as “Allow access to local network” and, where appropriate, isolate guests from one another. A second Wi-Fi name alone does not guarantee separation. After saving the settings, test that it works in practice.
What is a guest network useful for?
The main benefit is separating internet access from access to your home devices. Visitors can have their own password, which you can change later or disable the entire network without having to reconnect every family member’s phone. If the router genuinely isolates the network, guests should not be able to access shared folders, a printer or storage on the main network from it.
It is also a practical way to separate some Internet of Things devices, such as inexpensive smart plugs or cameras, from personal computers. However, not all devices work the same way on an isolated network. If controlling a light requires a direct connection to a phone on the same local network, it may stop working after being moved. It depends on the specific router and how the device communicates.
The U.S. FTC recommends starting the security of connected home devices with the router: keep it updated, change default credentials and use encryption. A guest network is a useful additional layer, not a replacement for these basics.
How to Enable Guest Wi-Fi Step by Step
1. Log in to the router
Open the manufacturer’s official app or the administration address listed in the manual and on the router label. Do not guess a universal IP address, as it varies by model and network setup. Log in with the administrator password, not automatically with the Wi-Fi password itself. If you have not changed it, set your own strong password according to the manufacturer’s instructions.
If the router was provided by your internet provider, some settings may be restricted or available through its customer app. Check the model and firmware version. Menu labels vary, and some cheaper devices do not offer a guest network feature at all.
2. Find Guest Network
The option is usually found under Wireless, Wi-Fi or Advanced. In its official guides, TP-Link, for example, lists the path Advanced → Guest Network, although other models use different menus. Enable the network, give it a name different from the main one, and choose a separate password that you do not use for other accounts.
The name does not need to include your name or exact address. A practical label that lets visitors identify the right network is enough. Hiding the network name is not considered full security protection and often only makes it harder for visitors to connect.
3. Configure encryption and access permissions
Use WPA3-Personal if both the router and devices support it. Otherwise, WPA2-Personal with AES is a commonly suitable option. Do not enable outdated unencrypted modes simply to connect an old device if a safer alternative exists. A strong password can be a long random passphrase that you conveniently show visitors using a QR code.
The most important setting is often called “Allow guests to access my local network,” “Allow Local Access,” or something similar. If you do not want guests to see the main devices, turn this access off. A separate “Allow guests to see each other” option determines whether devices can see one another on the guest network. When there are multiple unfamiliar guests, it is often practical to turn off this option as well.
4. Save the changes and test a real connection
Connect your own phone to the guest network. Verify that the internet works but, for example, the NAS administration page or the local address of a printer on the main network does not open. Do not rely only on the fact that the network names differ; check the actual accessibility of local devices.
If the device operates as an access point connected to the main router, isolation rules may behave differently than in router mode. For example, TP-Link states that its Deco system provides automatic separation in Router mode, while in Access Point mode local access depends on the relevant setting. This is why a short practical test is more important than an assumption.
What if a visitor can no longer use the printer or Chromecast?
A guest network can block discovery and direct connections between devices. If a visitor wants to cast something to a TV or print, you may need to create an exception or connect them to a different network for that specific task. However, do not open access to all home devices just to transfer a single video without carefully considering the setup.
Alternatives include sharing content once through an app, sending a document to the printer owner, or using a separate network for smart devices. Some advanced routers allow more detailed rules between segments, while others offer only a simple switch. Do not configure rules you do not understand based on a random guide for an entirely different model.
Does a guest network slow down the internet?
Creating a second Wi-Fi name does not automatically guarantee either higher or lower speeds. Both the internet connection and the router’s radio environment are shared. If many guests connect and all start downloading large files, the available capacity is divided among them. Some models offer a time limit or bandwidth cap for guests, but this is not a mandatory feature of every guest Wi-Fi network.
If you use video calls or online gaming at home, set any limits with your actual internet speed in mind. An overly strict limit can cause interruptions for visitors even during ordinary calls. Scheduling the network to turn off is particularly useful for occasional visitors or rental spaces.
The Most Common Setup Mistakes
The first mistake is using the same password for the main and guest networks. Formally, you have two names, but you lose the benefit of sharing access separately. The second is allowing access to the local network without realizing that this may let a visitor see available services and devices. The third is neglected firmware and a default administrator password.
Also remember that a guest network does not protect against every internet threat and does not hide your public IP address from services you visit. Its main protection is that, depending on the settings, it limits the mutual visibility of local devices. If you need completely separate security zones, especially in a business, an ordinary home feature may not replace a professionally configured network.
Conclusion
Guest Wi-Fi is most practical when it is genuinely separated: its own name, its own password, an updated router and access to the main local network disabled. Creating a second SSID is not enough without checking permissions. After setting it up, test both internet access and the inaccessibility of home devices, so that visitors get a connection rather than an open door to everything you have connected.
Sources
- TP-Link – How to create a network for guests on TP-Link Wi-Fi Routers (guest network and permission settings) – https://www.tp-link.com/us/support/faq/2798/
- TP-Link – How to Set Up a Guest Network on TP-Link Deco (the difference between Router and Access Point modes) – https://www.tp-link.com/za/support/faq/1460/
- Federal Trade Commission – Securing Your Internet-Connected Devices at Home (securing the router and connected devices) – https://consumer.ftc.gov/articles/securing-your-internet-connected-devices-home

Gabriel Čatár
I'm interested in everyday things we encounter but don't always understand. From technology and personal finance to practical guides and fascinating facts about the world. At Offpitch, I focus on topics worth exploring in greater depth, checking the facts and explaining them in a clear, accessible way. My goal is to make sure readers take away something useful from every article.


